Headlight restoration is usually worth trying when the lens is cloudy but the housing, seals, bulbs, and beam pattern are still sound. Replacement makes more sense when the assembly is cracked, moisture damaged, electrically unreliable, or too worn to hold clear results.
TL;DR: Restoration is the lower-disruption option for oxidized plastic lenses; replacement is the safer path for damaged assemblies.
- The smartest choice depends on night visibility, housing condition, inspection results, and how long you plan to keep the vehicle.
- Ask for a written explanation before approving either path, especially if the car has advanced lighting or driver-assist features.
Two Different Fixes, Two Different Problems
Restoration addresses surface oxidation on the outer lens. The process usually involves cleaning, sanding or polishing, then sealing the plastic so UV exposure does not immediately haze it again. It does not replace a weak bulb, repair wiring, dry out trapped moisture, or correct a failed projector. Replacement means installing a new or serviceable headlamp assembly, which may include the housing, lens, reflectors, adjusters, seals, and sometimes integrated electronics.
A cloudy lens scatters light, which can make night driving feel dim even when the bulb is still working. A damaged assembly can create a different problem: water intrusion, poor beam aim, flickering, or uneven light output. NHTSA maintains consumer information on vehicle headlights and lighting because visibility and glare are both safety concerns, so this decision should be treated as more than cosmetic maintenance.
If you are comparing visibility upgrades, restoration pairs naturally with a broader look at repair documentation that protects resale and warranty value because lighting work is easier to explain later when photos, invoices, and part numbers are saved.
How a Shop Should Evaluate the Lens and Assembly
A practical inspection starts outside the lens, then moves inward. The technician should check for yellowing, pitting, scratches, cracks, water droplets, broken mounting tabs, loose connectors, bulb condition, and aim. If the lens clears during a small test polish, restoration may be reasonable. If haze returns immediately because the plastic is deeply degraded, a new assembly may be the better value.
The shop should also verify that both sides match. Drivers sometimes restore one lens and replace the other, but the beam can look uneven. On vehicles with adaptive lighting or sensor-related systems, replacement may involve aiming or calibration steps. The exact requirement depends on the model, so manufacturer service information matters more than a generic promise.
Cost, Downtime, Lifespan, and Risk Compared
| Option | Best fit | Main limitation |
|---|---|---|
| Restoration | Cloudy but intact plastic lens | Does not fix cracks, moisture, wiring, or internal reflector wear |
| Replacement | Cracked, wet, loose, or electrically faulty assembly | Usually costs more and may require aiming or calibration |
| Inspect first | Unclear cause of poor visibility | May involve diagnostic time before the quote is final |
Questions to Ask Before You Approve the Work
Ask what problem the service is solving: surface haze, failed bulb, condensation, cracked housing, poor aim, or electrical trouble. Ask how long the restoration coating is expected to last under normal sun exposure, but treat that as an estimate rather than a guarantee unless the shop provides written warranty terms. Ask whether the quote includes both headlamps, bulbs, seals, aiming, taxes, and disposal fees.
The FTC’s auto repair basics guidance is a useful consumer reference when you want written estimates, authorization clarity, and a repair record that matches what was actually done.
A low restoration price is not automatically bad, but it should include a UV-resistant finish. Polishing without sealing can make the lens look clear for a short time and then fail quickly. A high replacement quote should identify whether the part is OEM, aftermarket, used, refurbished, or a complete assembly.
A Practical Lighting Decision You Can Defend Later
Choose restoration when the lens is the main problem, the housing is dry, the beam pattern is acceptable, and you want a fast, lower-cost improvement. Choose replacement when the lamp is physically damaged, water has entered the housing, the reflectors are burned, adjusters are broken, or the vehicle requires reliable lighting for heavy night driving.
If the repair quote feels unusually low, compare the same caution you would use with cheap alignments that can cost more later. The issue is not price alone; it is whether the service includes the steps that make the result last.
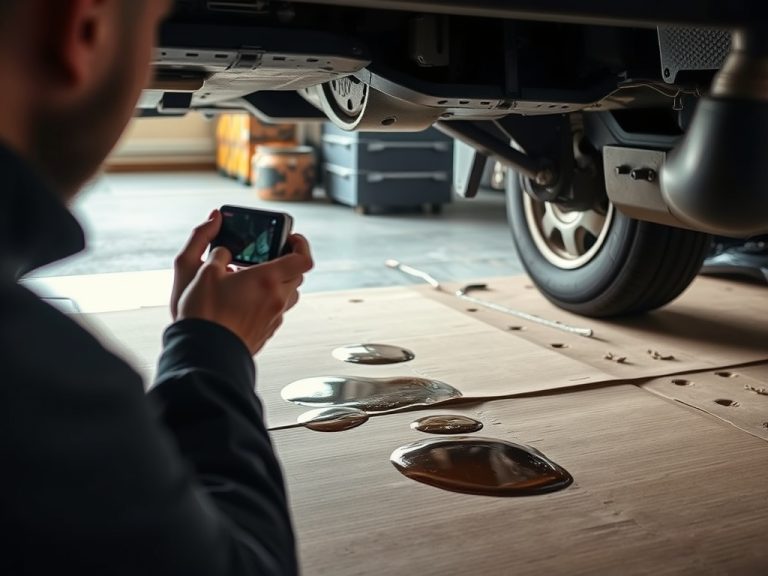
Before booking, take night photos against a wall, save the estimate, and ask the shop to document the before-and-after condition. That gives you a clear record if you sell the vehicle, file an insurance claim, or need warranty support.
Service Notes for a More Confident Decision
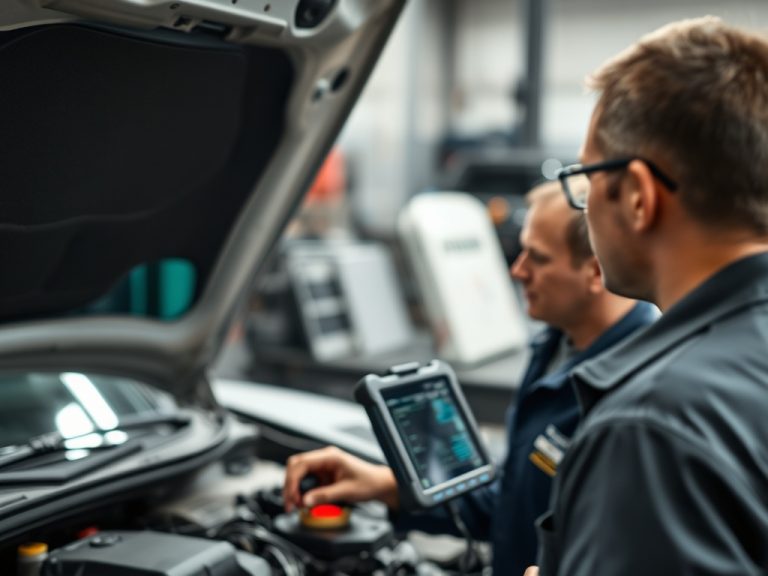
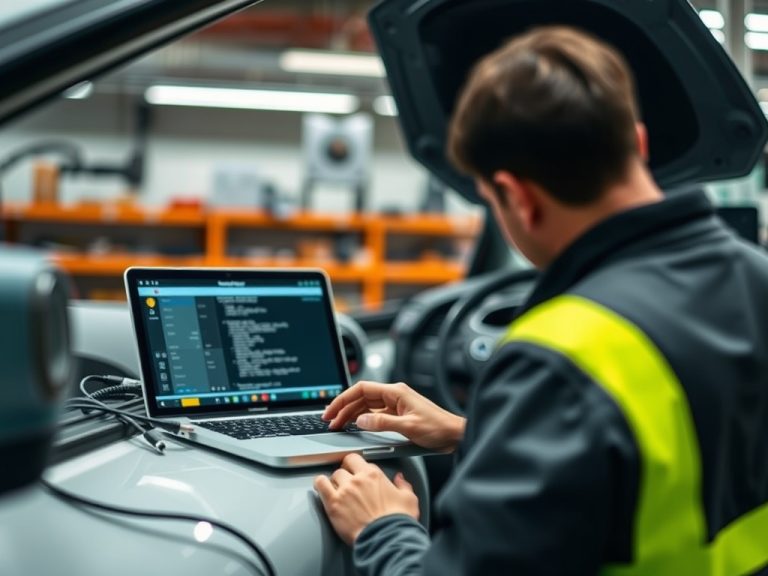
A good shop should explain what was inspected, what was measured, and what is still uncertain. That distinction matters because a symptom can be obvious while the root cause is not. A visible leak, warning light, noise, or poor driving feel is only the starting point. The repair plan should connect the symptom to test results, vehicle history, and the risk of waiting.
For lighting decisions, ask for a practical before-and-after expectation rather than a perfect promise. A restored lens can improve clarity, yet road conditions, bulb condition, aim, windshield cleanliness, and driver vision also affect the experience. Replacement can solve assembly damage, yet it should still be aimed correctly and documented with the part source.
A second useful question is how the result will be verified. For restoration, verification may include checking clarity in even light and confirming that the coating was applied. For replacement, verification should include fit, water sealing, electrical operation, and aim. If a shop cannot explain the verification step, the service may be focused on appearance instead of dependable night visibility.
Consider your ownership timeline. If you plan to sell soon and the assemblies are intact, restoration may be enough to improve presentation and usability. If you plan to keep the vehicle for years, drive rural roads, or rely on the car for late-night commuting, replacement may be more defensible when the assembly is badly degraded. That is a practical preference, not a universal rule.
Do not judge the choice by one quote alone. Compare what each quote includes. One restoration quote may be polish-only while another includes sanding stages and a UV sealant. One replacement quote may use an inexpensive aftermarket assembly while another uses an original-equipment part. Those are different services even when the headline name sounds the same.
Before the appointment, write a short version of the concern in your own words. For lighting repair, the most useful description includes when the problem started, what changed recently, and what makes it better or worse. This prevents the repair conversation from becoming too broad. A focused complaint helps the advisor choose the right inspection path and helps the technician avoid spending paid time on unrelated systems.
During the estimate review, ask the shop to connect the recommendation to evidence. For a visibility complaint, that evidence may include night drive, wall test, lens condition, moisture, and beam aim. A recommendation can still involve judgment, but the facts behind that judgment should be visible. If the shop cannot show or explain the evidence, ask whether more diagnostic time is needed before parts are approved.
After the work is complete, compare the invoice with the original concern. The best repair record should show the complaint, cause, correction, and any remaining watch items. If the service solved the immediate problem but uncovered a separate issue, ask for that second issue to be listed as a recommendation rather than quietly blended into the completed repair. This keeps your maintenance history clean and makes future decisions easier.
For a final check, compare the vehicle on a familiar dark road after service, but do it safely and without altering bulbs outside legal or manufacturer guidance. If visibility still feels poor after a sound headlight decision, the next causes may be windshield haze, incorrect aim, aging bulbs, or the driver’s own night-vision comfort.
Keep the final choice practical and documented. A repair that looks good in daylight still needs to perform predictably when the road is dark, wet, or unfamiliar.
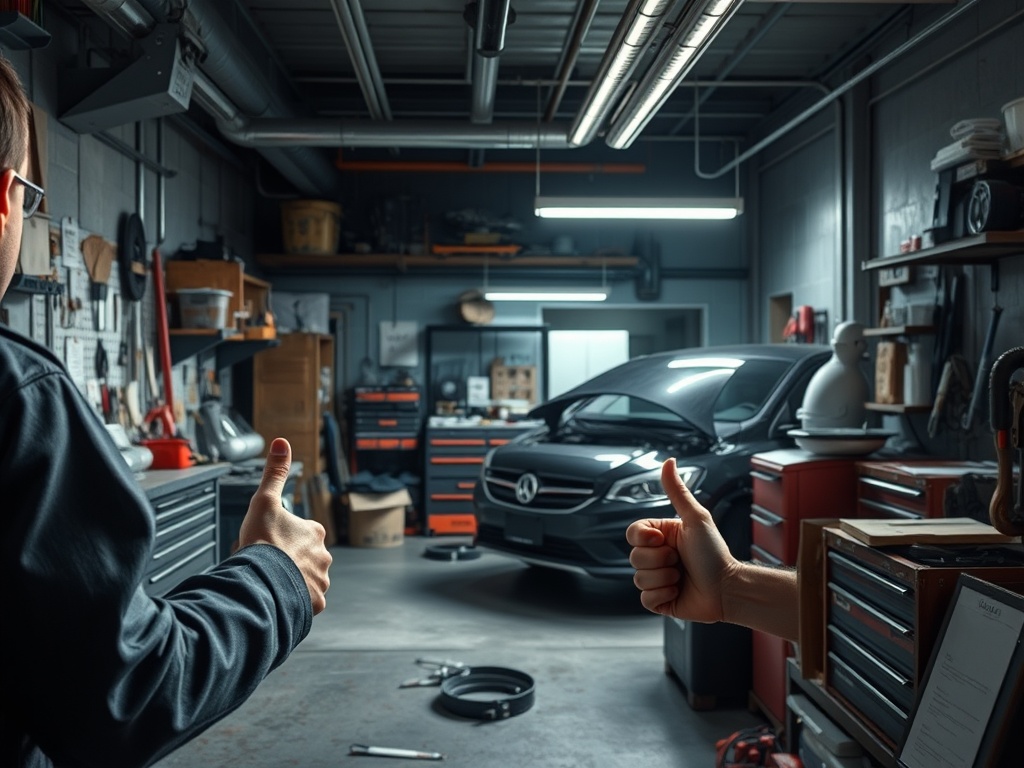
The best result is one you can see, verify, and explain later.