A storm-damage roof inspection starts with safety, ground-level observations, interior leak checks, and photo documentation before anyone considers walking the roof. Hail, wind, and debris damage can look different, so the goal is to document conditions clearly and involve a qualified roofing professional when damage is suspected.
TL;DR
- Inspect from safe locations first; do not climb a wet, steep, or damaged roof.
- Look for patterns across shingles, flashing, gutters, vents, and interior ceilings.
- Document date, storm conditions, photos, and temporary protection steps.
Start With Safety and Interior Clues
For supporting context, review FEMA disaster inspection guidance, then apply the guidance through qualified project-specific review.
After a storm, the first inspection should happen from the ground and inside the building. Look for fallen branches, loose wires, broken skylights, displaced flashing, water stains, attic moisture, ceiling discoloration, and active drips. FEMA notes that disaster-related damage may require onsite or remote inspection during assistance processes, which reinforces the value of clear documentation after an event.
Never step onto a roof that is wet, icy, steep, visibly sagging, or surrounded by electrical hazards. A professional roofer or inspector is safer and more effective for close-up review.
Hail Damage Often Shows as Impact Patterns
Hail can bruise asphalt shingles, dent metal accessories, crack tiles, damage vents, mark gutters, and loosen protective granules. The key is pattern recognition. One isolated mark may not tell much, while consistent damage across slopes, soft-metal components, and exposed accessories can suggest a storm event. Photos should include wide views and close details with scale where appropriate.
Wind Damage Is About Uplift and Displacement
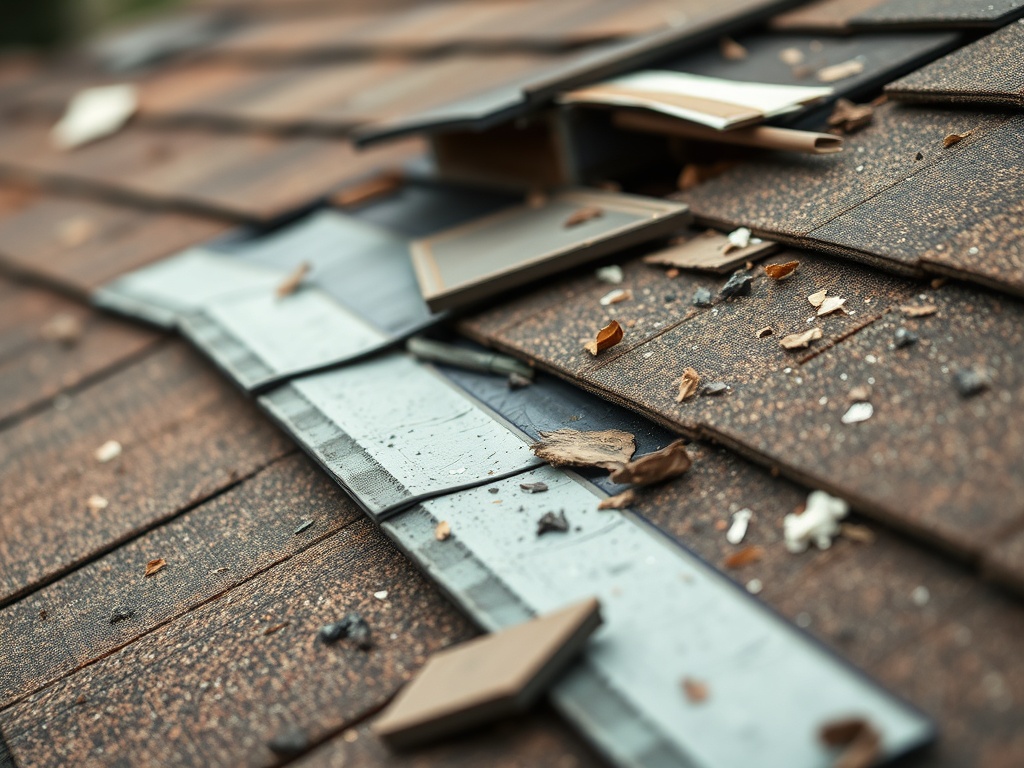
Wind may lift shingle tabs, remove ridge caps, loosen flashing, tear membranes, shift panels, or expose underlayment. Damage may be worse at edges, corners, ridges, and roof transitions. Indoors, water stains after wind-driven rain may point toward flashing, wall intersections, or roof penetrations rather than the broad field of the roof.
Documentation Helps Owners Make Better Decisions
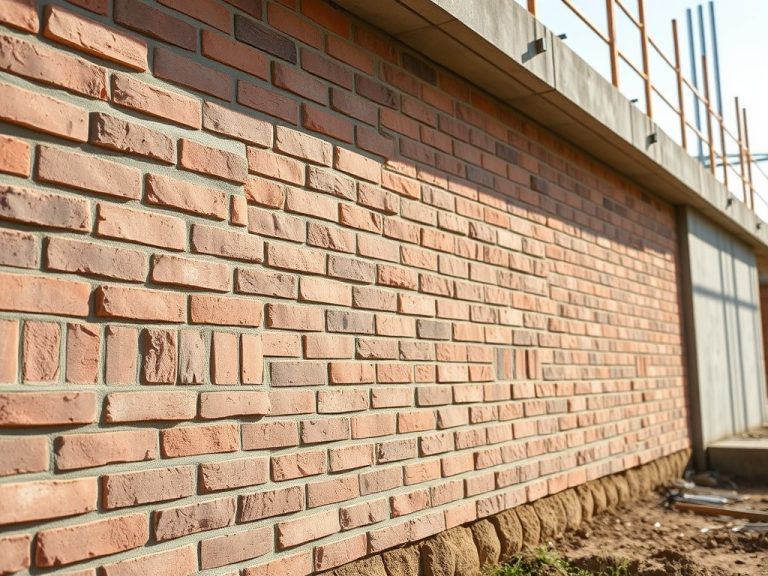
Record the date, time, storm type, visible damage, interior symptoms, temporary measures, and who inspected the roof. Do not discard damaged materials before documentation unless safety requires it. For owners comparing exterior assemblies, CMU, brick, or insulated concrete forms offers helpful context on how building envelopes differ in durability and maintenance behavior.
What Not to Do After a Storm
Do not pressure-wash impact marks, apply sealant randomly, climb without fall protection, or sign rushed repair paperwork without understanding the scope. Temporary tarping may be appropriate when water is entering, but it should be documented and installed safely. Do not assume every mark is claim-worthy damage, and do not assume a roof is fine because there are no leaks yet.
When to Call a Professional
Call a qualified roofer or building-envelope consultant when there are leaks, missing materials, punctures, widespread dents, unsafe access, commercial roof membranes, tile roofs, metal panel systems, or disputes about cause. Some conditions require structural, code, or insurance expertise beyond a homeowner-level inspection.
Storm Review Checklist
Use binoculars from the ground, check attic and ceilings, photograph all elevations, inspect gutters and downspouts, note roof penetrations, document temporary protection, save invoices, and schedule professional review when damage is suspected. This article is educational only and is not roofing, engineering, legal, insurance, or safety advice.